A few weeks ago, in light of the COVID-19 situation and huge numbers of customers searching for face coverings, there was an announcement on Etsy suggesting all sewers (that’s people who sew not pipes that carry waste!) produce face masks.
At the time I was in two minds whether to add these to my store. I had all the materials, but I just felt I’d be taking advantage of the awful situation we’re all in.
Watching the news later I was horrified to see the thousands of people queuing at food banks. It was then I decided I would make masks to sell and donate the profits to Feeding America’s COVID-19 Response Fund — ”a national food and fund-raising effort to support people facing hunger and the food banks who help them”.
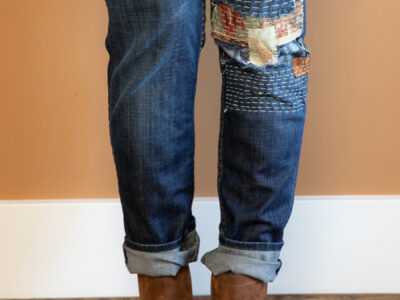
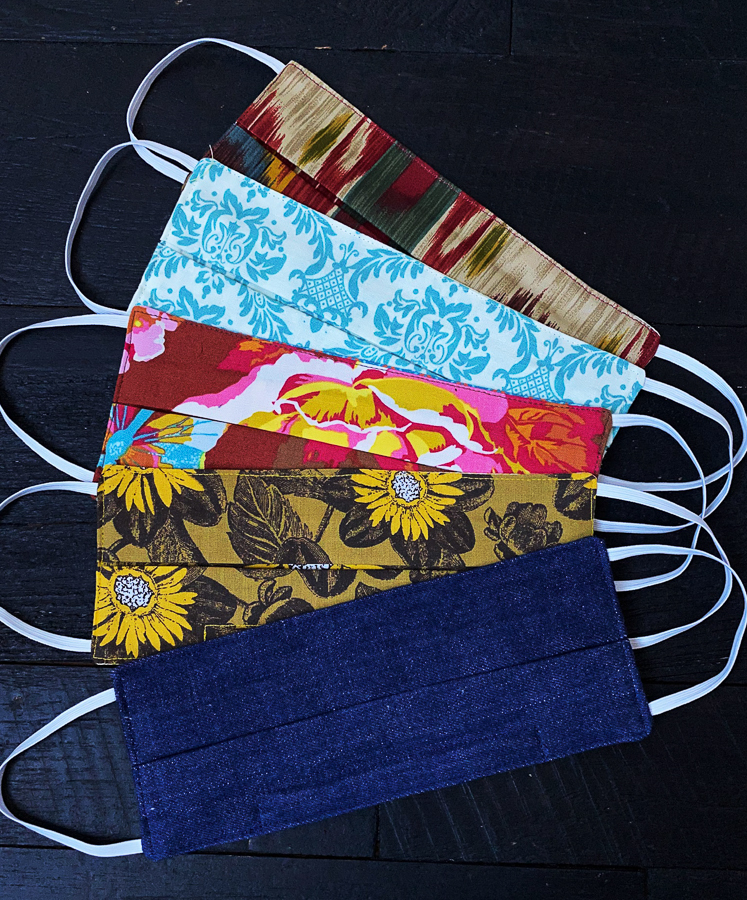
So which design to go with? After days of faffing around with different styles — I have a different mask for every day of the week now! — I finally settled on this one. Easy to make, a bit fancy, convenient to put on, and comfortable to wear (well as comfortable as covering your nose and mouth with fabric will ever be).
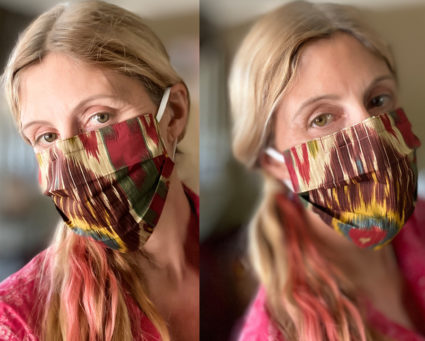
And yours truly modeling the chosen design:-)
You can buy the masks at my store, etsymakeartlife and support Feeding America, or follow these step by step instructions to make your own…
Here’s how to make your own!
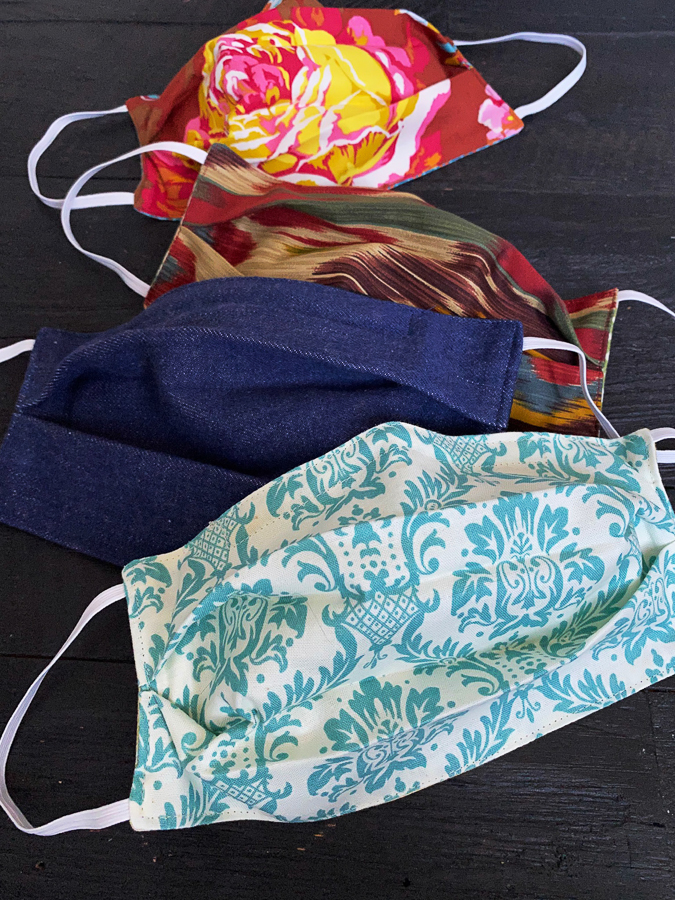
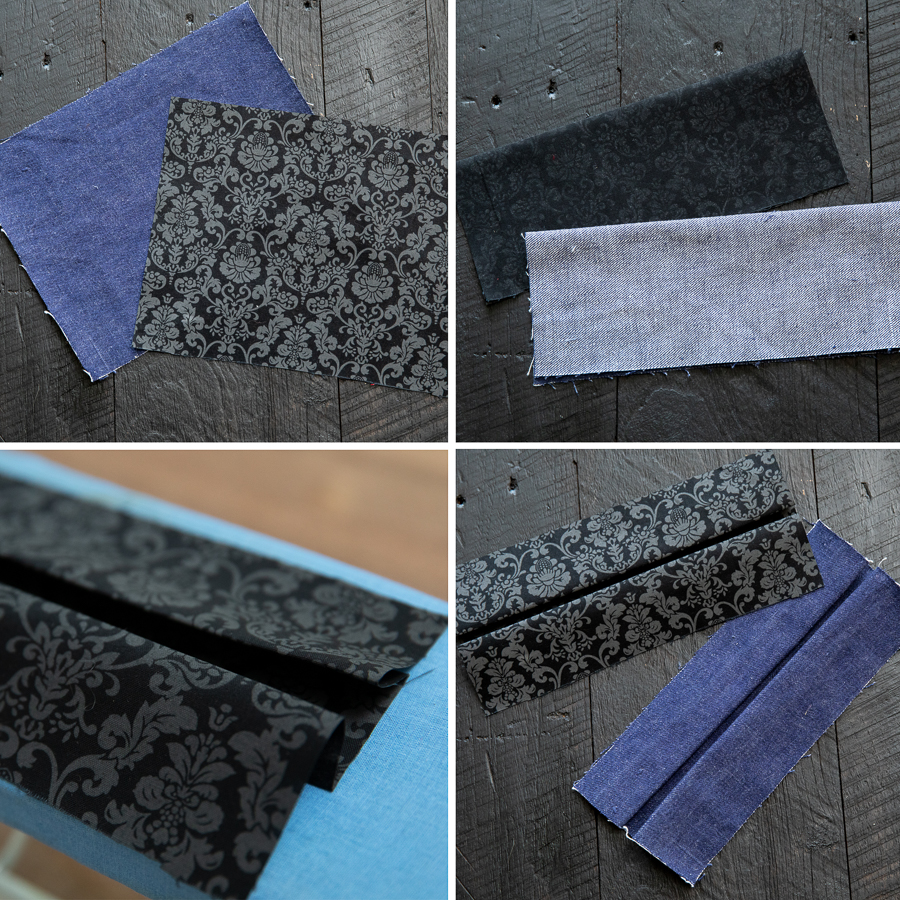
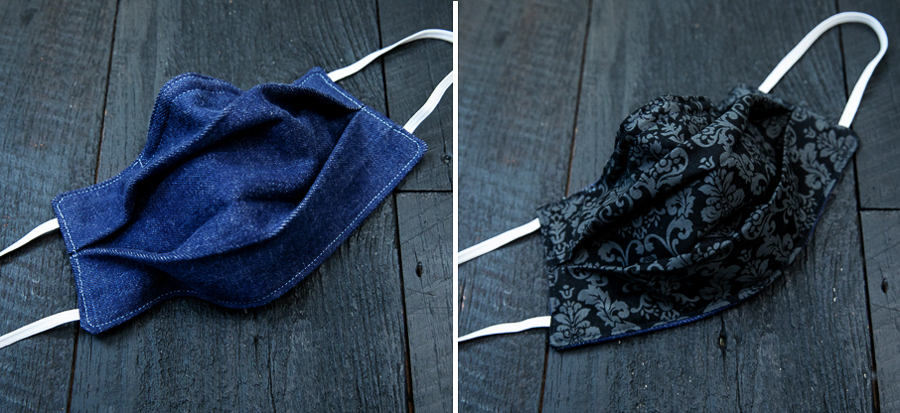
Start by cutting out two pieces of laundered cotton fabric to 9×7″. I like to use different designs to make the mask reversible.
Give them a press with a really hot iron.
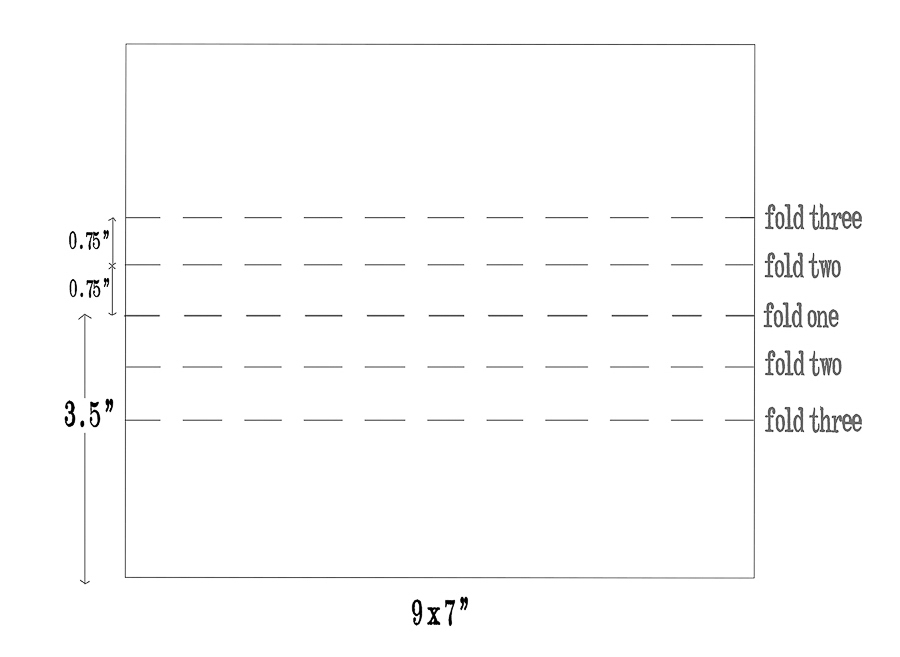
Fold the short side in half and press to get a center crease. Now form the pleats by ironing a crease 0.75” from the center line. Fold the fabric back along this crease and press again. Repeat on the other side of the center line. And repeat again on your other piece of fabric. Both pieces should be the same size folded!
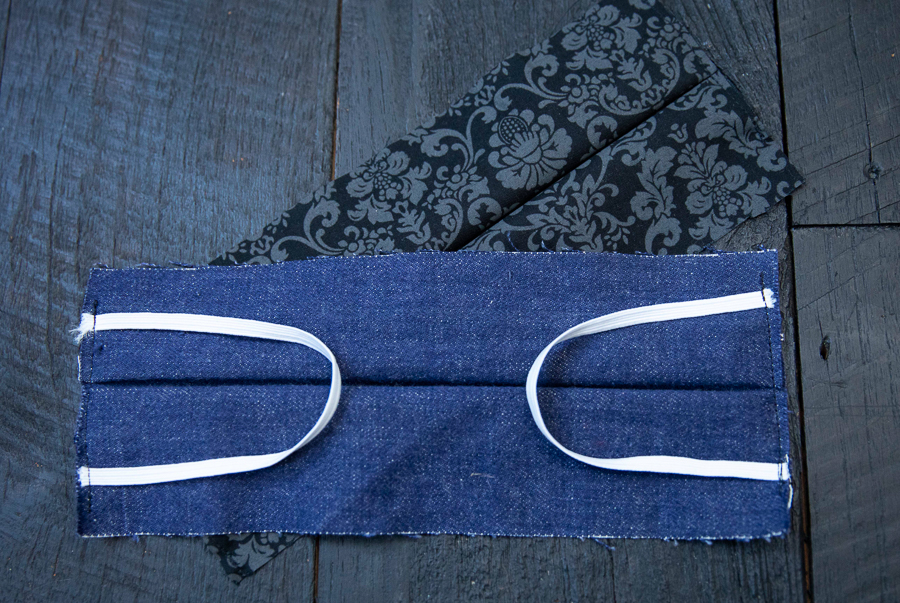
Now for the elastic. Cut two pieces of ¼” elastic to 7.5″ — I find this length fits the average sized head — and place in position on the right side of the fabric about 0.5” from the top and bottom edges, making sure you have no twists, as seen below.
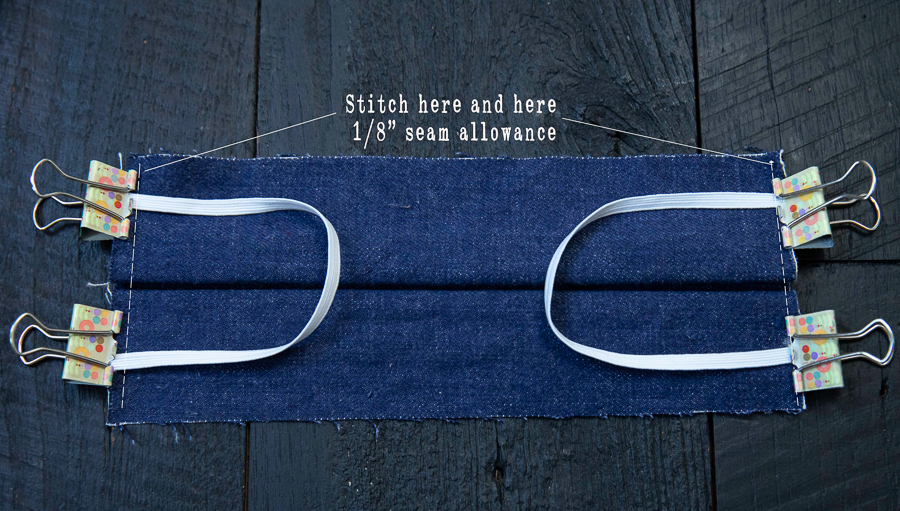
Next secure the elastic and pleats on both fabric pieces by stitching along each short edge allowing ⅛” seam allowance.
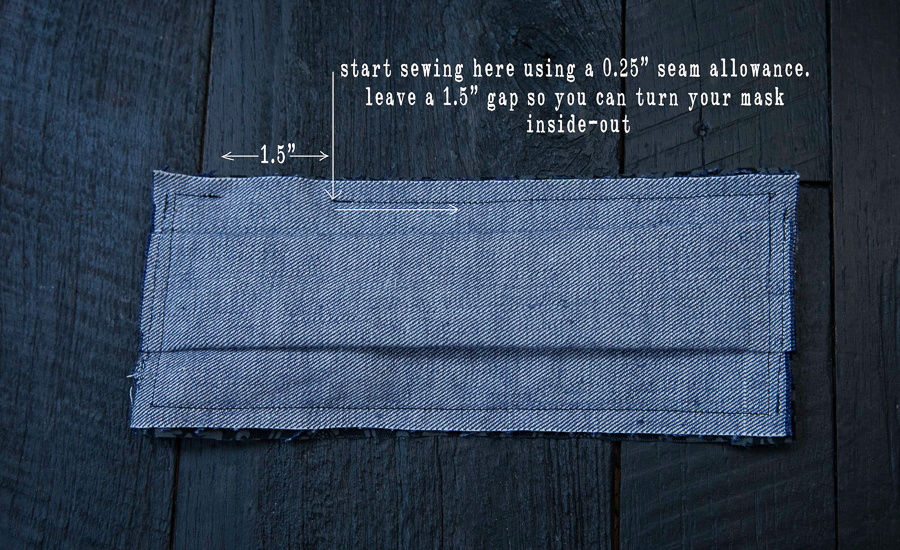
With the right sides facing each other, place your two pleated fabric places together. Start stitching on the long top edge, 2.5″ from left hand edge with a 0.25″ seam allowance. Continue all the way round until you have a 1.5″ gap from where you started to allow for turning inside out.
Cut off the corners diagonally, being careful not to clip the stitches, and turn inside out. Gently push out corners. I use an artist’s paintbrush handle, but anything not too pointy, like a chopstick, will do. For nice crisp edges press them with a hot iron, avoiding the elastic.
Take a 6″pipe-cleaner, or any sturdy but flexible wire will do, and fold over each end, about an inch, so you don’t have any pointy bits. Now you’re going to sew all the way round the edge of the mask to create a more durable finish and a pocket to hold the wire nose bridge.
Place the nose wire in the center to gage how wide the pocket needs to be. Make sure you’re not going to be sewing through any of the pleats when you’re working on this top edge!
After making sure the raw edges of the opening in the seam are tucked neatly into finished position you’re ready to start sewing. Use the graphic below as a guide.
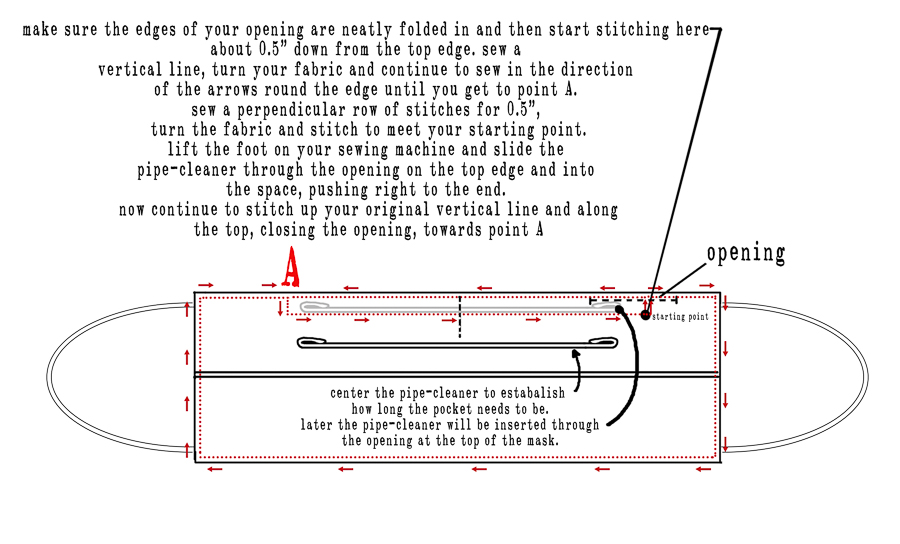
After you’ve sewn the first vertical stitches on the right, continue to sew round the edge of the mask in the direction of the arrows until you get to point A. Here you’ll make another vertical row of stitches ½” down from the top. Now stitch a line which is parallel to the top and meet your starting point.
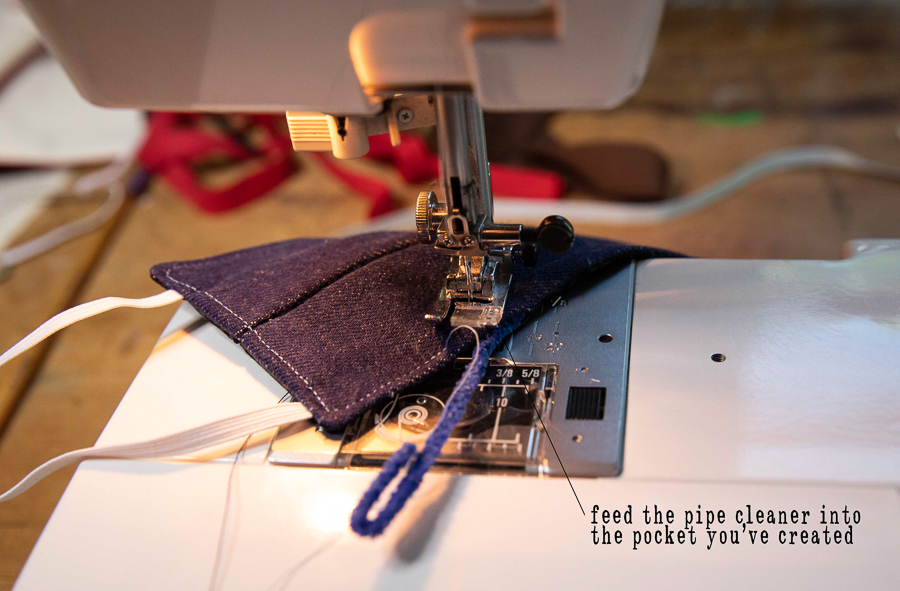
Lift the foot on your sewing machine for greater access and slide the pipe-cleaner through the opening on the top edge towards point A. Now stitch up your original vertical line and along the top, closing the opening, and towards point A.
Care instructions
Hand washable up to 60 degree °C ( 140 degree °F)
Hang dry.
Hot iron for extra disinfection. Please don’t iron the elastic!
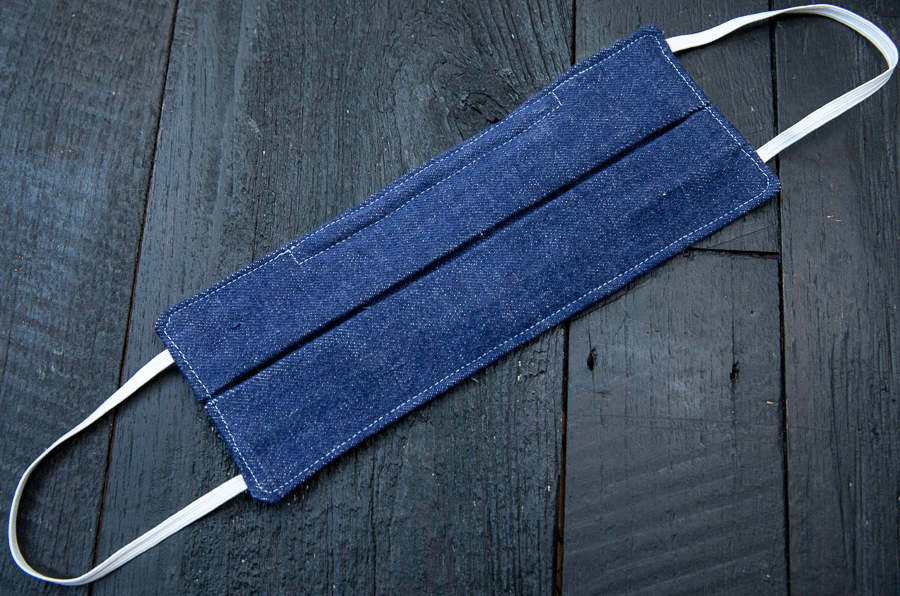
And there you have it! Your face covering will give you an extra layer of precaution for running essential errands like grocery shopping or going anywhere in public.
Stay safe!