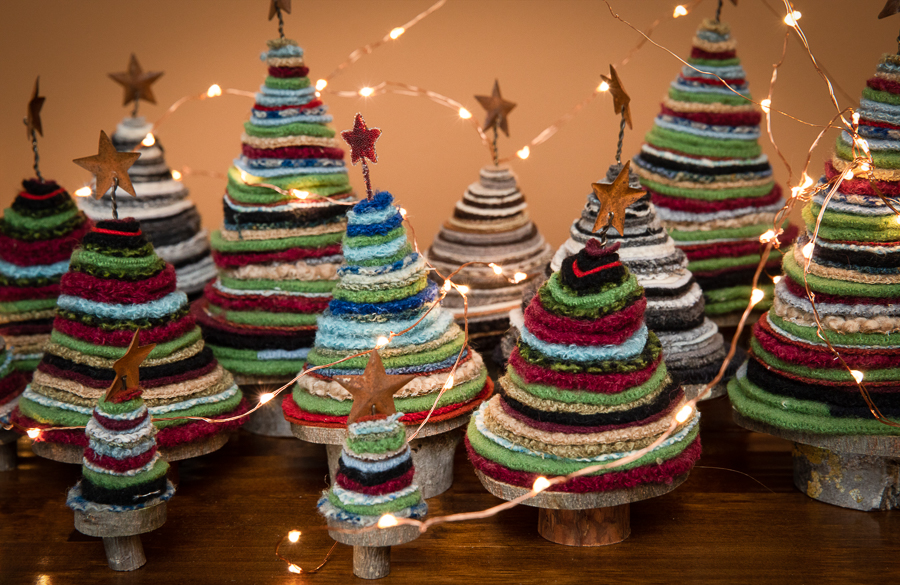
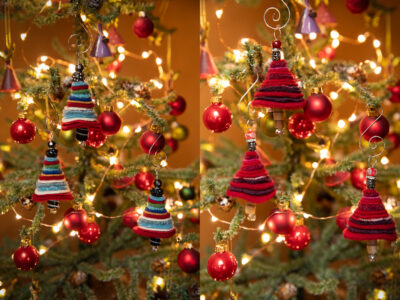
I’ve just created a wooly, fuzzy forest of Christmas trees!
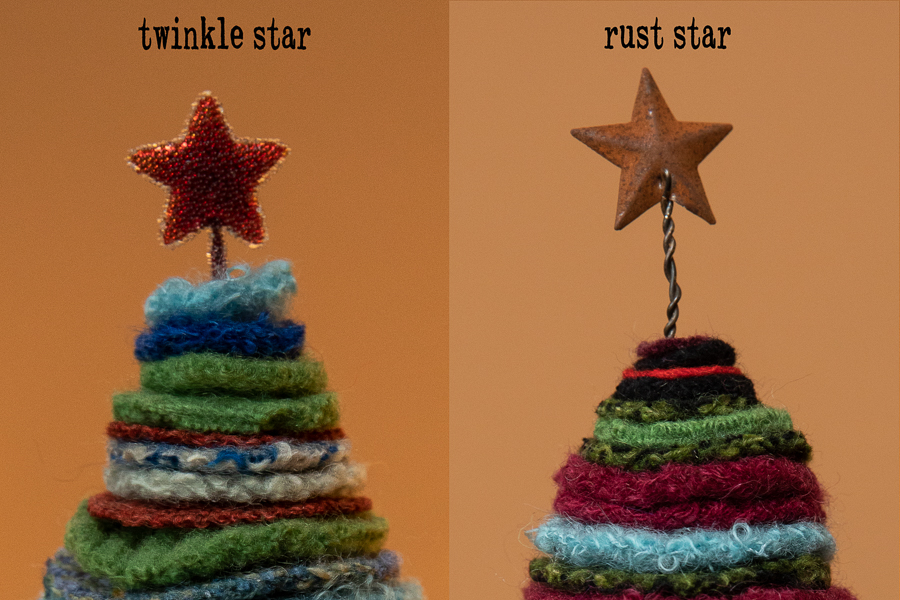
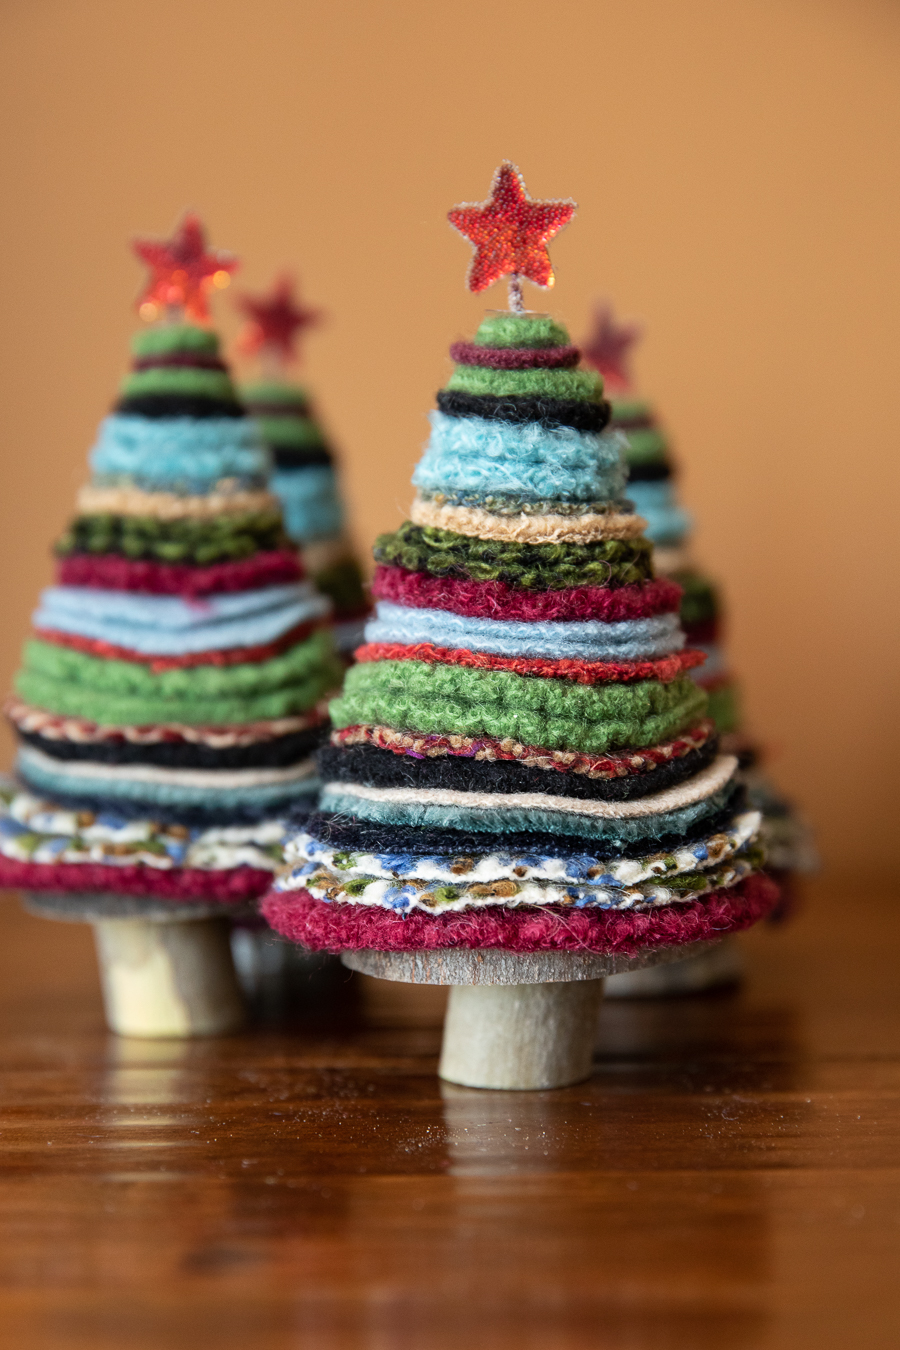
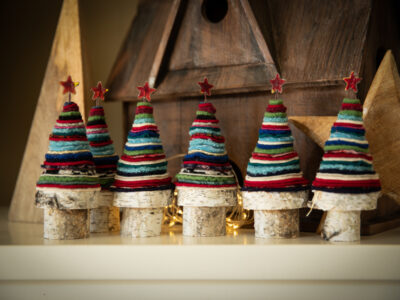
I made these cuties by stacking concentric circles of felted sweaters and wool fabric samples. A malleable length of wire holds them together, and they sit upon wood slices from our recently trimmed trees. I topped some of them with a rusty barn-style metal star and others with a twinkly red star.
If you fancy making your own you’ll need:
• Old wool sweaters in a selection of colors (**See note below)
• Wire (I think I used 18 gauge)
• A star (I like these)
• Slices of tree branches (optional)
• Scissors
• Wood glue
• Clamp
•The first thing you’ll need to do is felt the sweaters. **You’ll need them to have a 75% or higher wool content and a close-knit**. Pop the sweaters in a washing machine with detergent and select a HOT cycle. To help those wooly fibers fuse together, add an old pair of running shoes for extra agitation.
Once the wash cycle is finished, put the sweaters in the dryer. Select a long and hot setting.
Remove from the dryer and check the fibers have matted together. If it appears they’d still fray when cut, repeat the whole process until nice and dense.
•Depending on how big you want your tree to be, cut a length of wire about an inch longer. Attach the star by threading one end of the wire through the hole, bending it back, and twisting it around itself to secure the star.
•Get cutting! Start with the smallest circle. My first disk is about half an inch in diameter. You can do this freehand, or use a template. Choose your next color of felt. Create your second disk by cutting around the first circle, making it a couple of millimeters bigger all the way around. Continue this process, increasing the size of the circles as you go. I usually get about 10 pieces cut and have to start treading them on the wire because I can’t resist any longer☺️ Eyeball the center of the smallest disc and poke the wire through. Push it along the wire to meet the star. Continue threading the disks in order of size. For a tree that’s about 5 inches high, you’ll need to create about 25 disks.
•When you have your desired tree height, or you just can’t cut another circle, bend the wire at a right angle and curl it around so the felt is held securely.
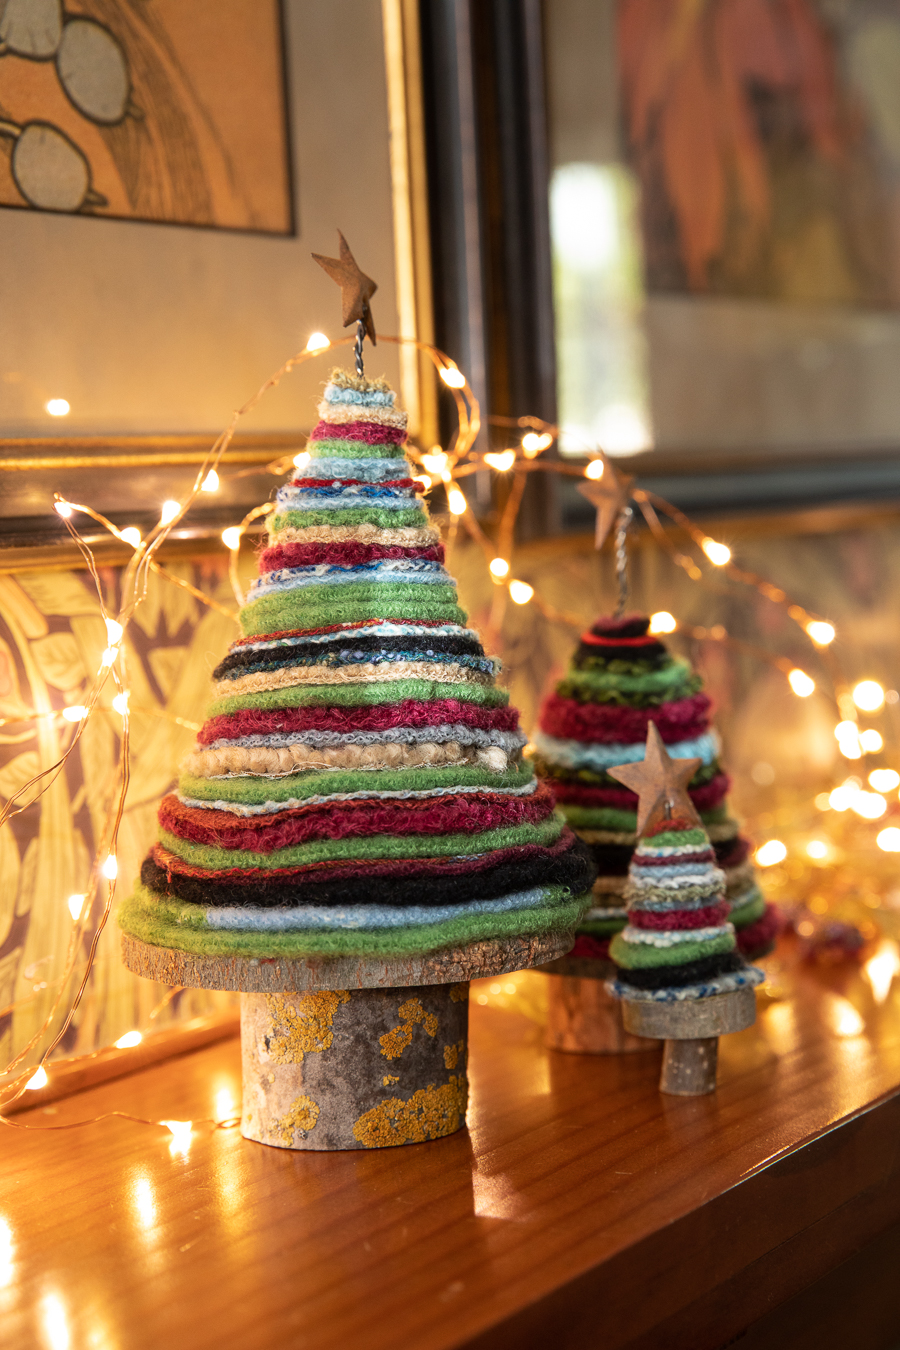
•You can call it a day at this point, or make a “trunk”, as I did.
We’d just pruned some trees in the garden, so I selected branches that were about the same circumference as the tree bases and smaller ones for the trunks. I got Mark to cut me some slivers about half an inch thick on the band saw (or use a hand saw) for the bases, and slices of the smaller branches to about an inch. Generously apply wood glue to one end of the “trunk” and put a dob in the center of the wood base. Place the two pieces together, making sure the trunk is centralized. Clamp together and clean up any glue squidge, then leave overnight to dry. When the base is good and solid, apply glue to the top side and the base of your felt tree. Place them together, making sure there’s good adhesion. Leave to dry completely.
•Find the perfect spot for your cozy decoration where it’s sure to add a quirky touch to your Holiday decor!

Happy Holidays!


4 comments for “How to make fuzzy, cosy, wooly Christmas trees!”