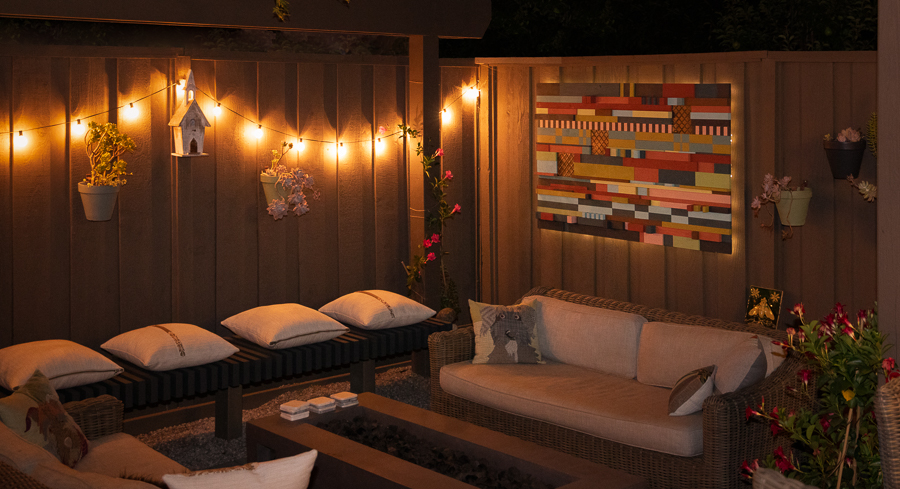
This is the first artwork Mark and I have ever collaborated on. We planned to create a piece to transform a corner of our small garden, giving the seating area a chilled lounge-like feel.
It was great working closely together (did I really say that? OK, mostly it was great), using his woodworking skills and my knowledge of color. I must admit the project was slow getting off the ground. I like to work organically; Mark wanted to see my vision. After me babbling on about how it had to be BIG, with different textures, colors echoing our plant pots, and then some more, we got started.
Throughout the year, we’ve been building furniture, gates, and nearly a shed (affectionately called the She Shed, but at 20″ deep, there’s no way I’ll have my morning coffee in there!) using rough-cut redwood fence boards. Mark says I sounded like a parrot for most of that time…”Don’t throw the off-cuts away.” “We can use that tiny piece on the wall art.” “That thin sliver will be perfect on the artwork,” and so on. Anyway, it worked. The outdoor art is made entirely of off-cuts, happily checking the 3Rs tick box (reduce, reuse, and recycle).
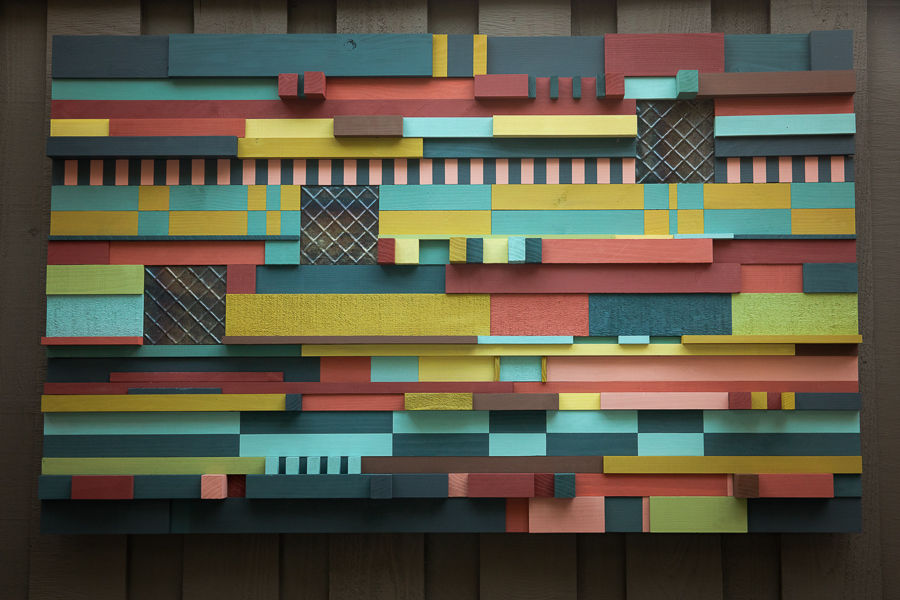
The first huge off-cut was surplus plywood from the She Shed. This artwork was going to be big…60×36” big! And because of its generous size, it’d be heavy too. Mark said this called for French cleats to hang it, two sets of ‘em! He also wanted to dabble with fiberglass and epoxy to make the base strong, so I left him to do his thing.
The French cleats and some of the paint colors. Stacking the wood strips by width.
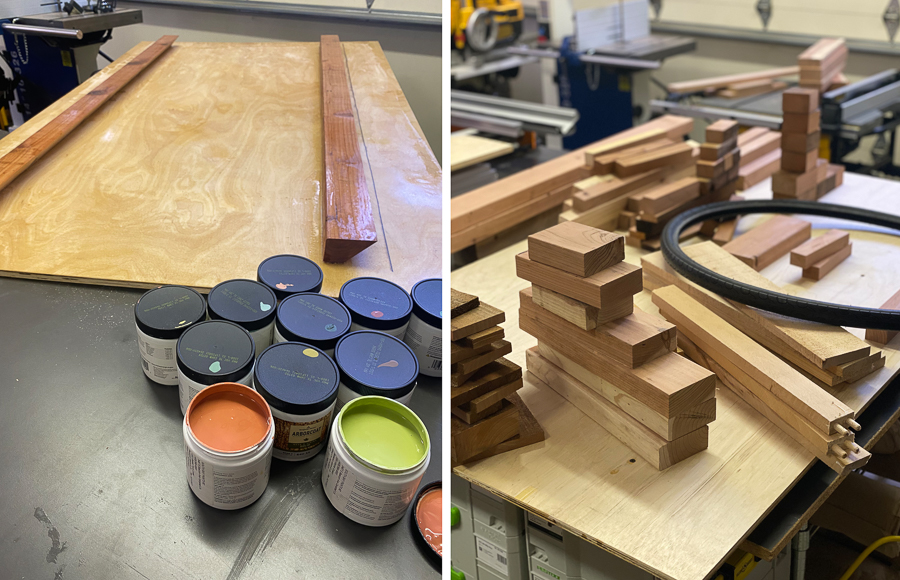
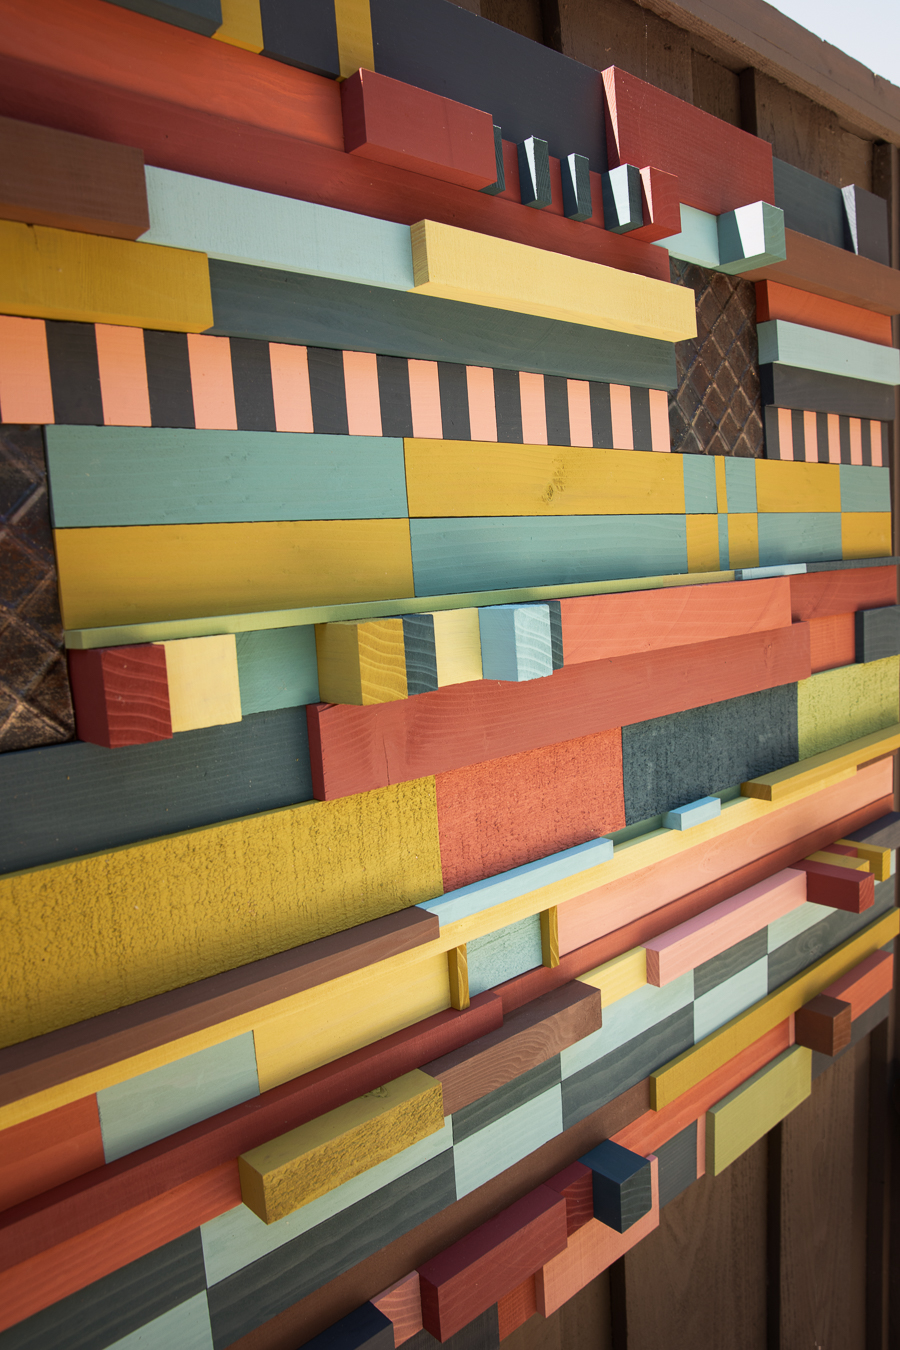
After flipping the base over we started gathering all the wood pieces, arranging them by width. It was going to be a linear design, so each block width had to be millimeter-perfect; we didn’t want any wibbly-wobbly lines. Where needed, Mark carried out all the precision miter saw and bandsaw cuts. We also added new words to our vocabulary—tinse (a very thin slither of a cut) and micro-tinse (self-explanatory 😊). I gathered together the pots of paint I’d selected from Benjamin Moore’s Arborcoat Exterior Stain collection and we were ready to go!
I’d chosen 12 colors with lovely names like Golden Delicious and Savannah Moss from a staggering 3500 options, so now we just had to paint each block! We laid out a mockup of the first 3 rows and decided which colors were going where. An hour or so later the blocks were drying and I’d decided to wear Nitrile gloves for the next session!
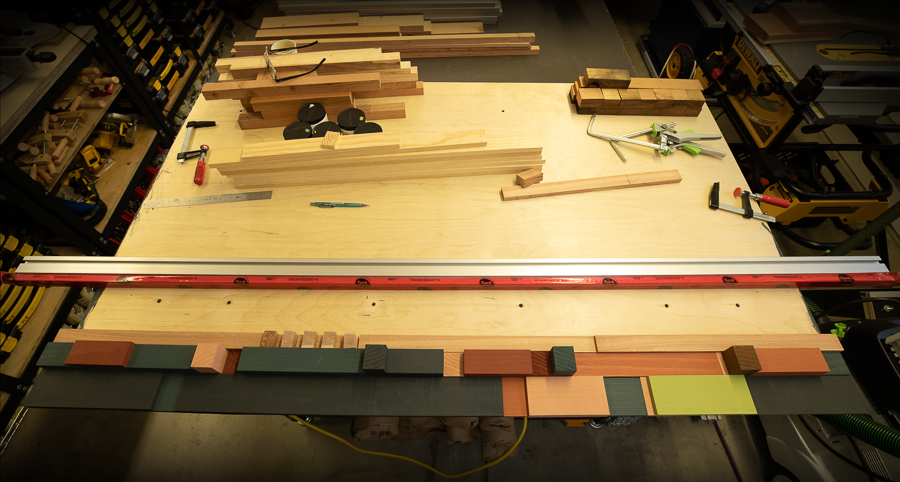
The morning after we secured the blocks and strips to the base using Titebond 2 adhesive. Using clamps, weights, and a long strip of aluminium to make sure everything was parallel, this first section was again left overnight for the glue to cure.
Just 12 more blocks to paint before stage 1 is ready for gluing and drying
We continued this process until we got to the 4th section of rows. Time to mix it up! A while ago I bought some old decorative tin ceiling tiles from Chicago. We’d cleaned a few of the smaller pieces of lead paint using Peel Away—a Sodium Hydroxide paste that is troweled on, covered with a paper-plastic film pressed against the paste, and then removed a couple of days later. It was quite messy and definitely required protective gloves and goggles. The end result was lovely and the tin tiles had a gorgeous patina. Mark sprayed them with Rust-Oleum Matte Clear Enamel to preserve this finish and protect them from the weather. We went on to randomly add 3 of these plates to the design.
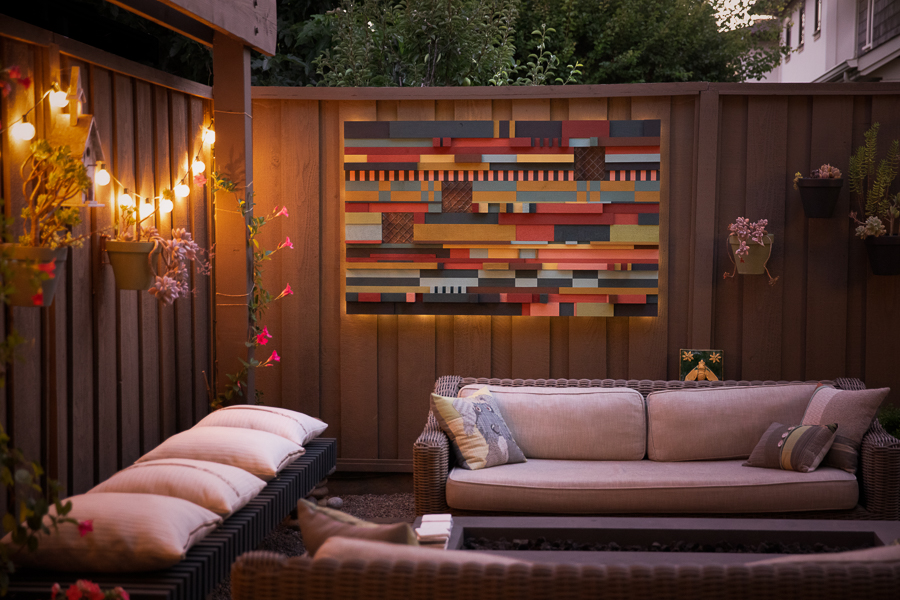
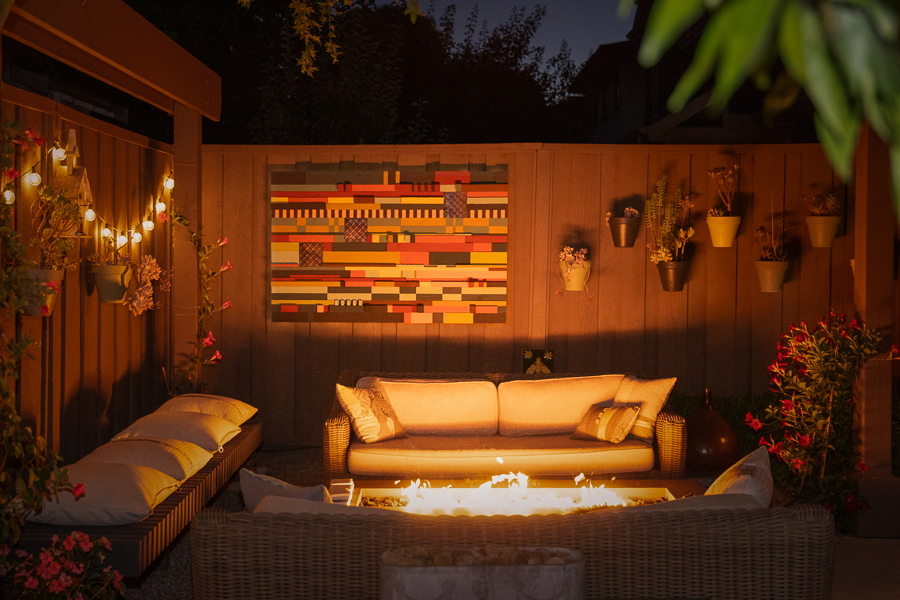
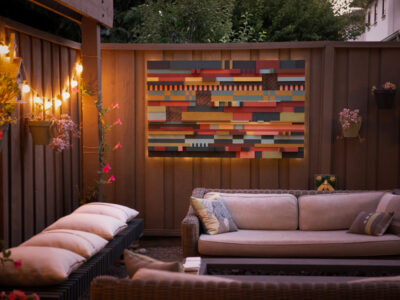
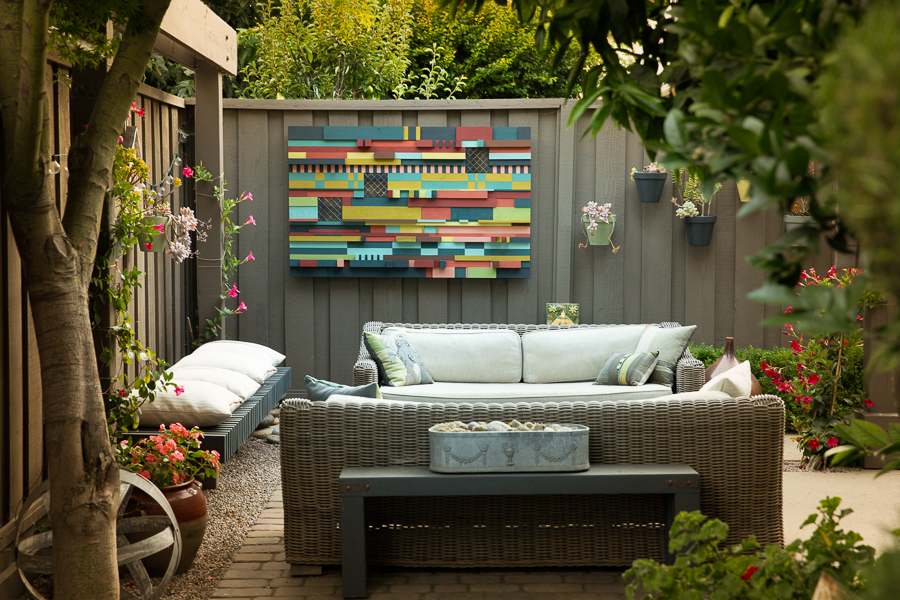
We eventually finished the artwork. It was quite the mammoth task, taking a few weekends and many evenings of deliberation, cutting, painting, and gluing. To add the finishing touch we attached a strand of tiny LED lights near the edge of the reverse side to give a subtle glow when it got dark.
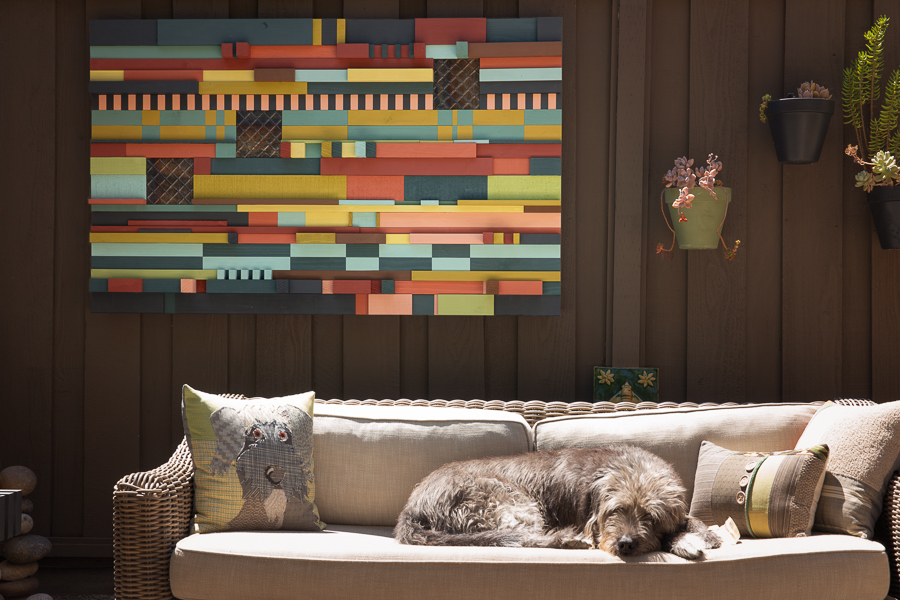
Now securely hanging on the fence, I can see our lovely art from the kitchen, and gaze at it with a smile while sipping a glass of wine from the outdoor sofa. This area of our garden now feels complete, it has a super relaxed vibe and I couldn’t be happier.
Ruby’s not very impressed