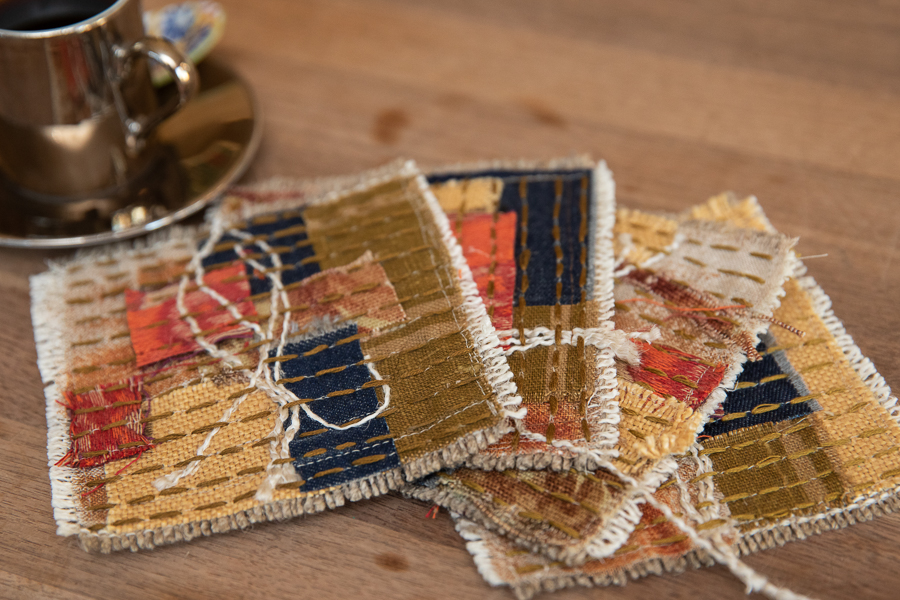
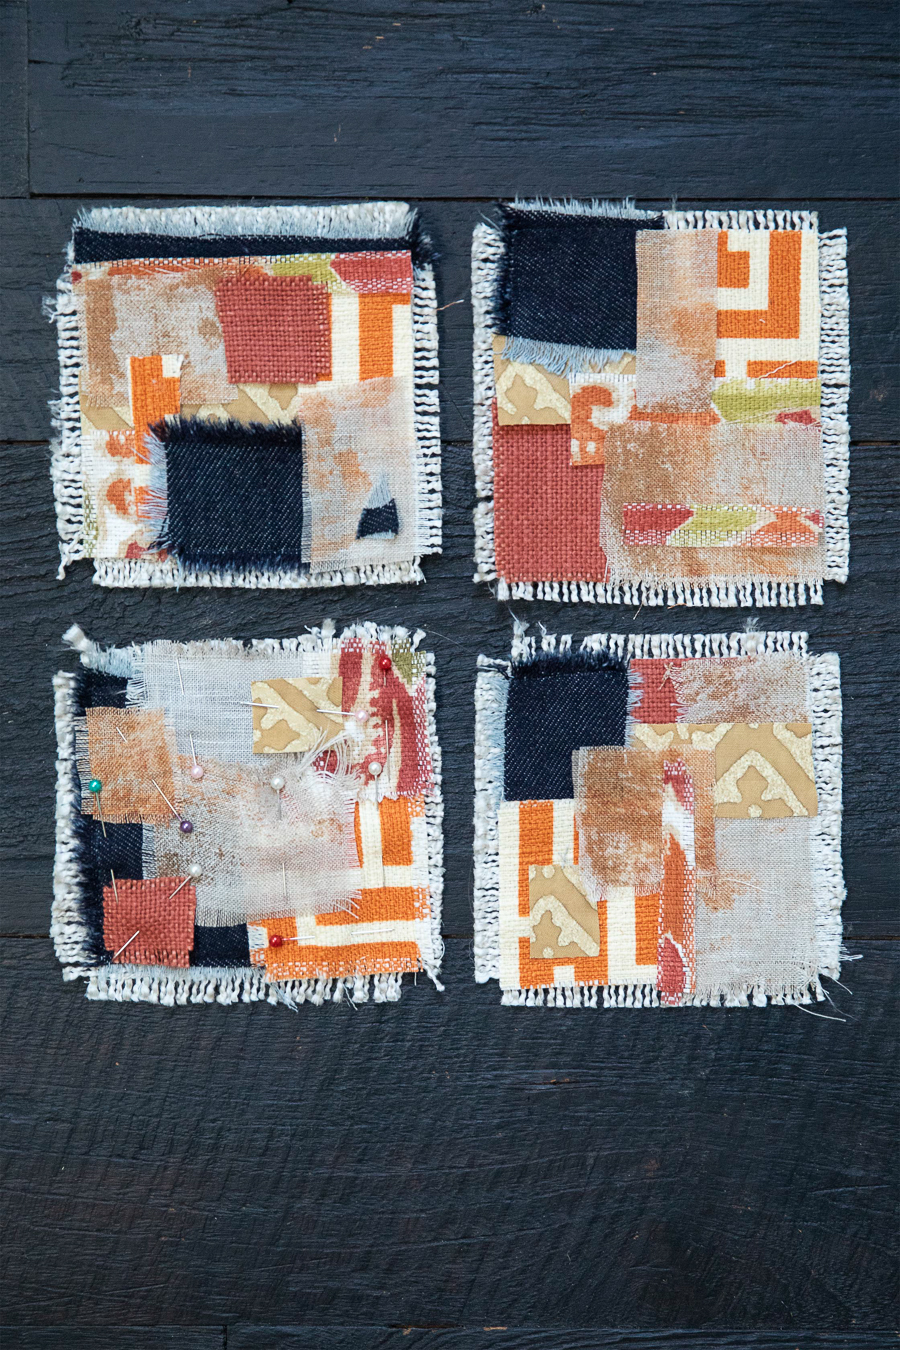
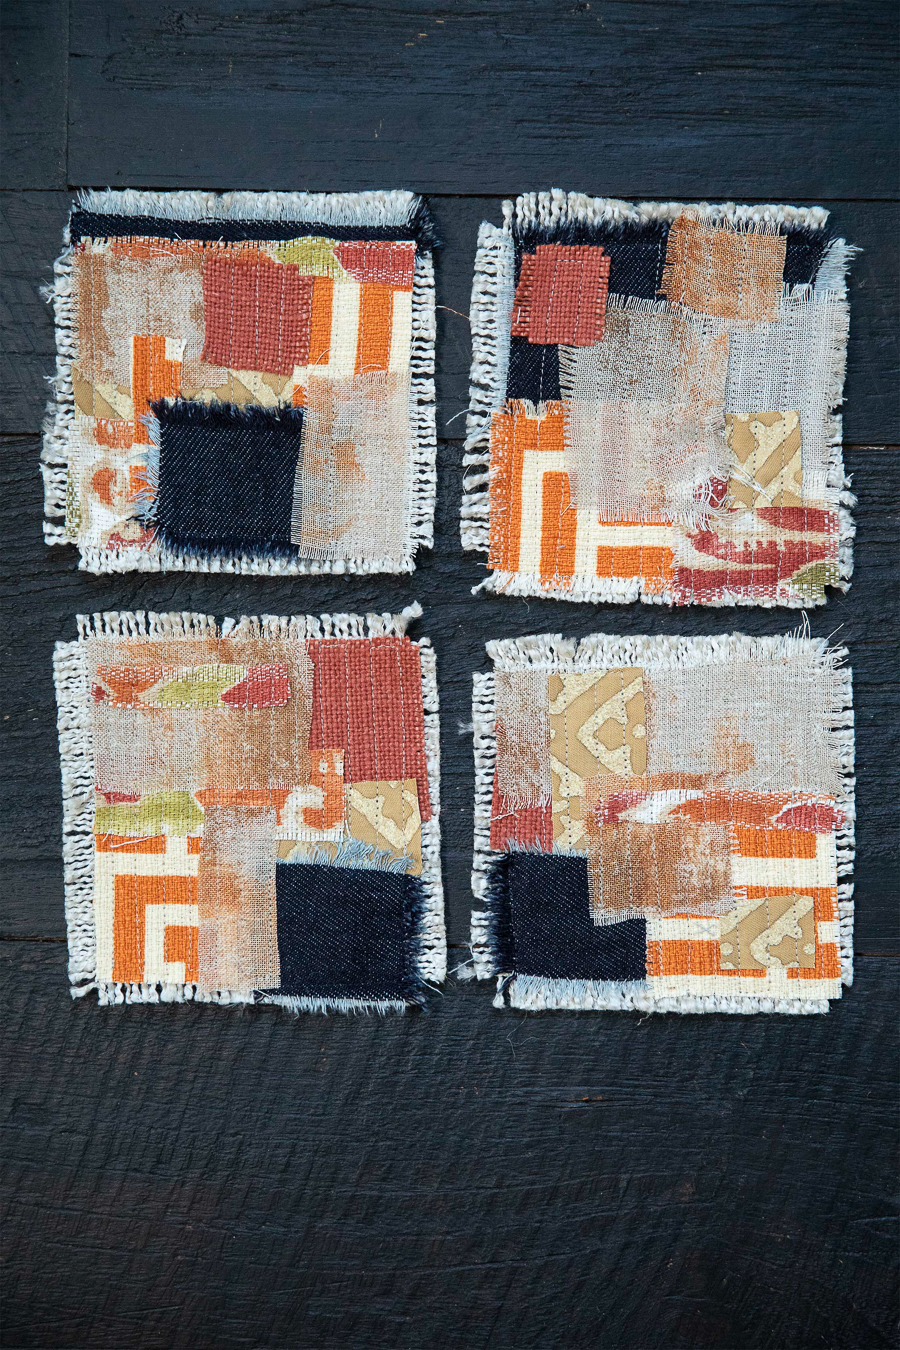
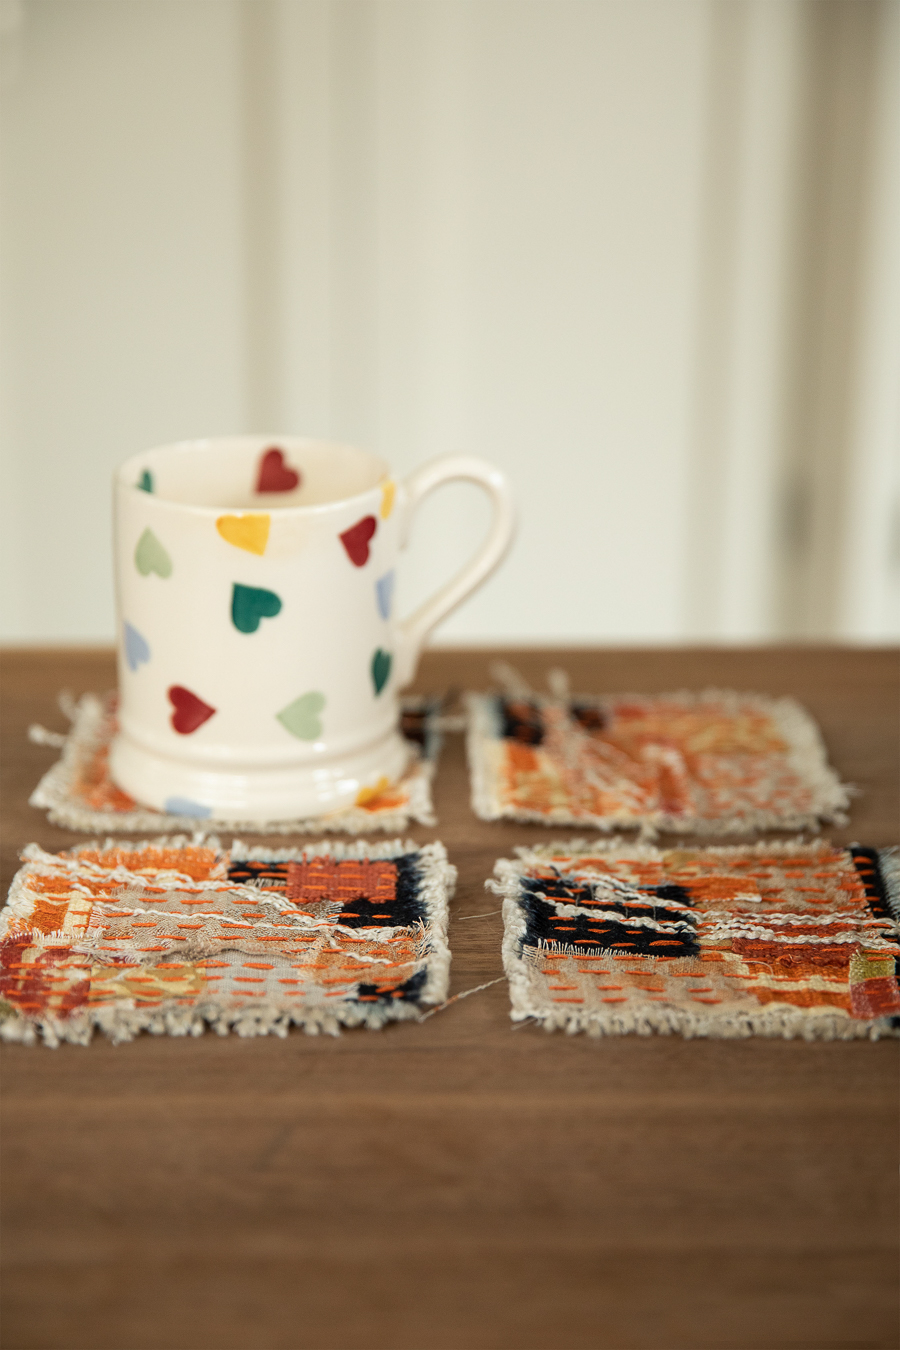
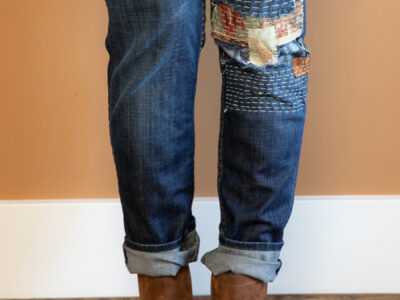
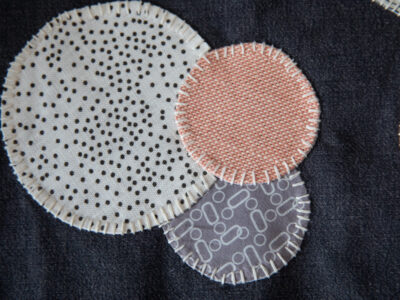
When I started to put these modern little squares of fabric art together, they were destined to be coasters. The trouble is, the thought of covering them up with a mug seems sad, so maybe I’ll hang them on the wall instead:-)
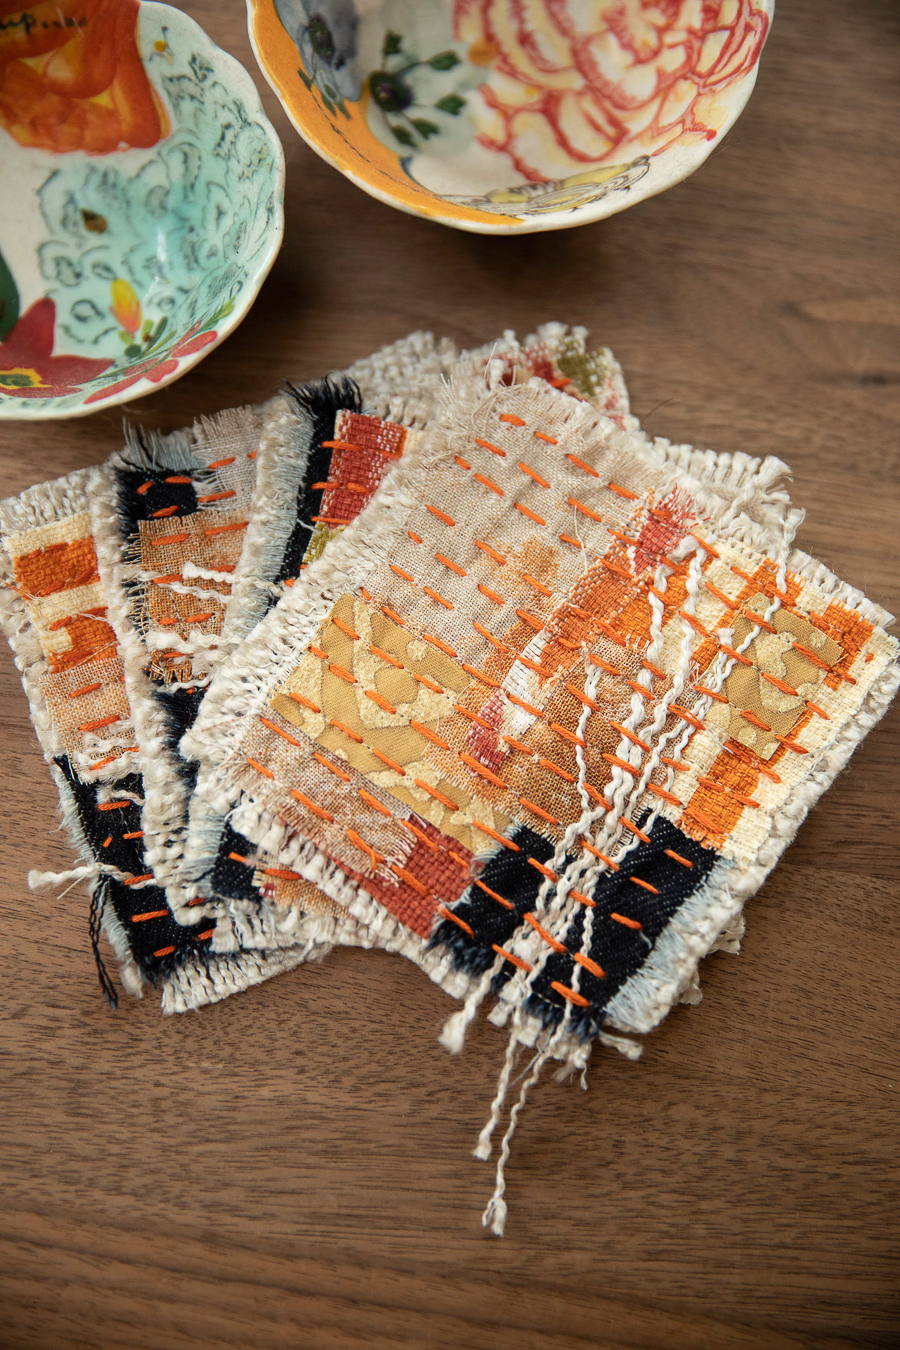
But anyway, they are a lovely slow-stitching project, and like so many of my designs, they put a dent in my fabric stash. The warm, autumnal tones are just right for this time of year. And to set the scene, I’m even wearing a fuzzy, snuggly burnt orange jumper.
I used heavy open-weave linen for the base of the coaster and torn and frayed linen and cotton scraps for the fancy.
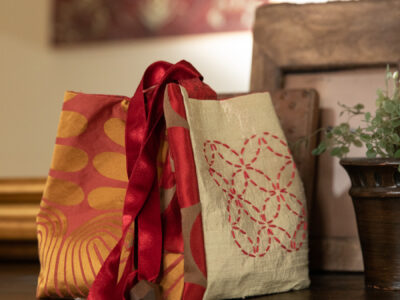
I have kits in my store using gorgeous designer materials in different color ways here.
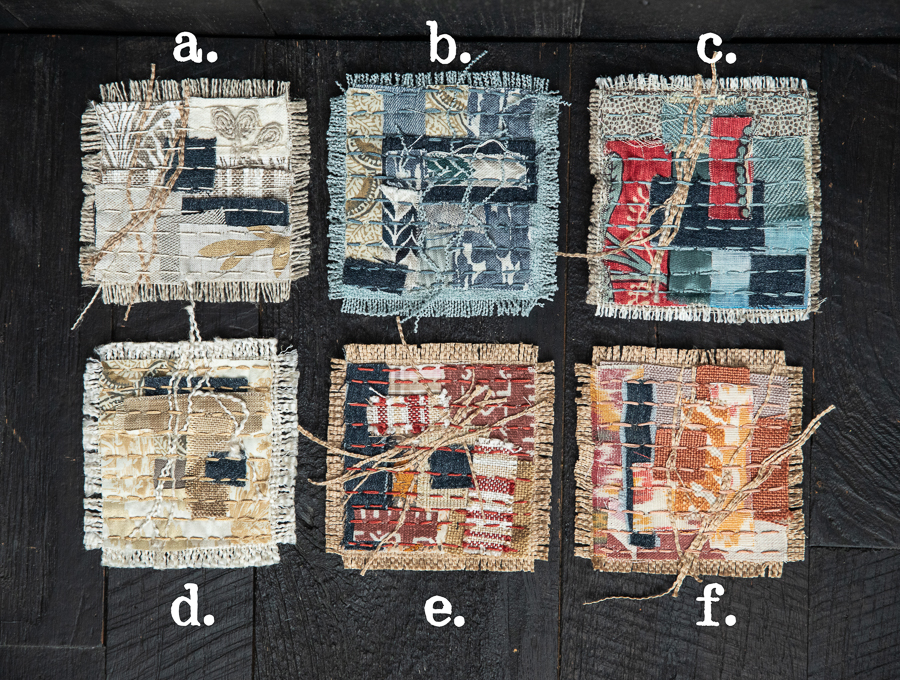
And another one using the fall-inspired colors shown below.
So let’s get started!
This is what you’ll need to make the coasters:
• Heavy linen or cotton fabric cut into 4.5inch² (114mm²) pieces
• Cut or torn rectangles and strips of patterned/textured/interesting linen and cotton in coordinating colors.
• 1 skein of complementary colored embroidery floss or sashiko cotton thread. I used a gorgeous burnt orange DMC floss
Also:
• 1 sashiko or long sewing needle
• Sewing machine threaded with a neutral-colored thread
• Scissors
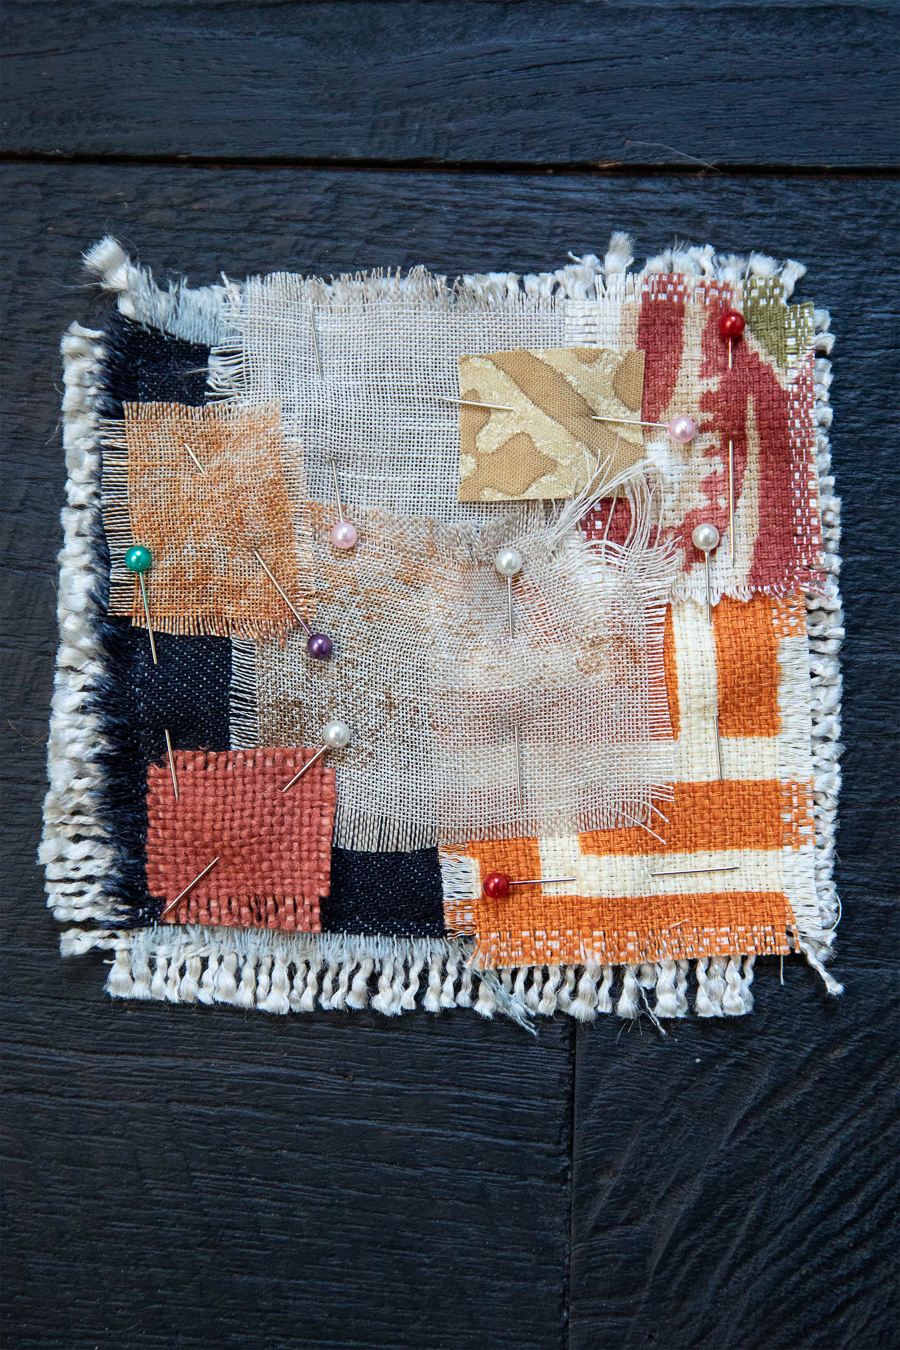
• Pins
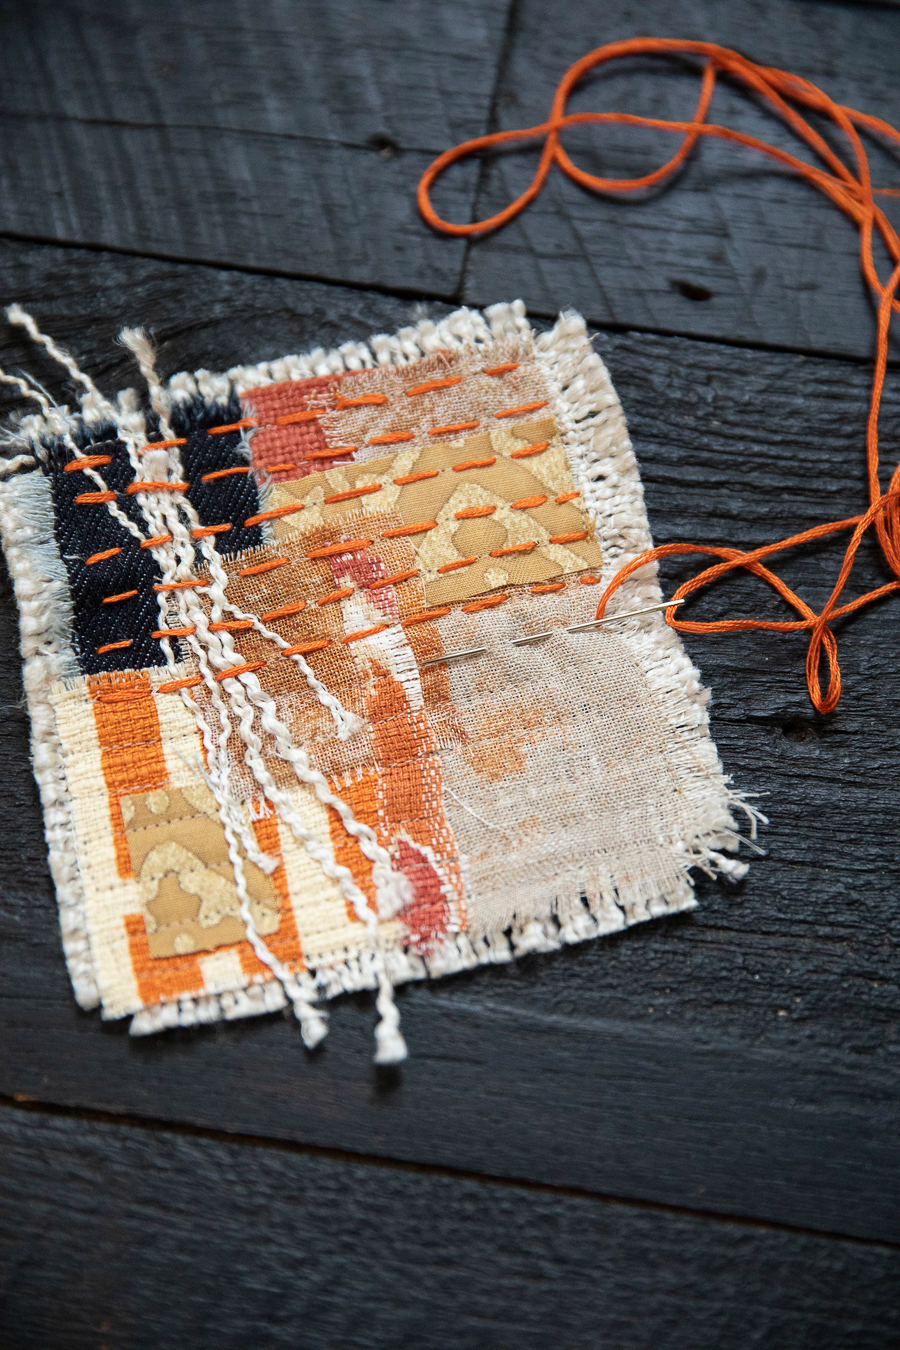
First off I frayed the edges of the square bases by teasing away the fibers from the edges until I had the desired length of fringe. Keep these lengths of thread so you can stitch them onto your design later.
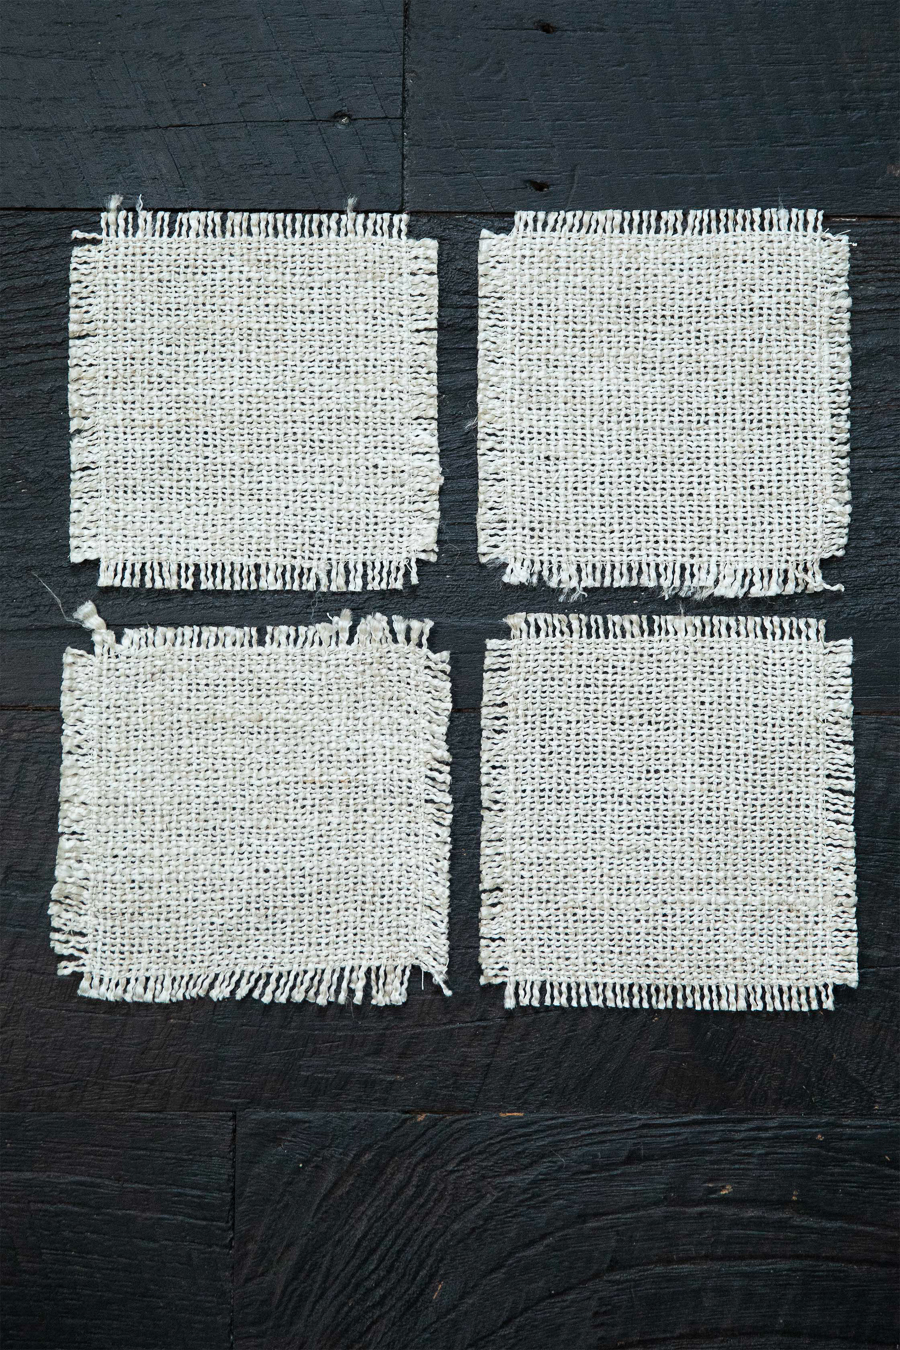
Using the sewing machine secure the edges with a running stitch to prevent further fraying.
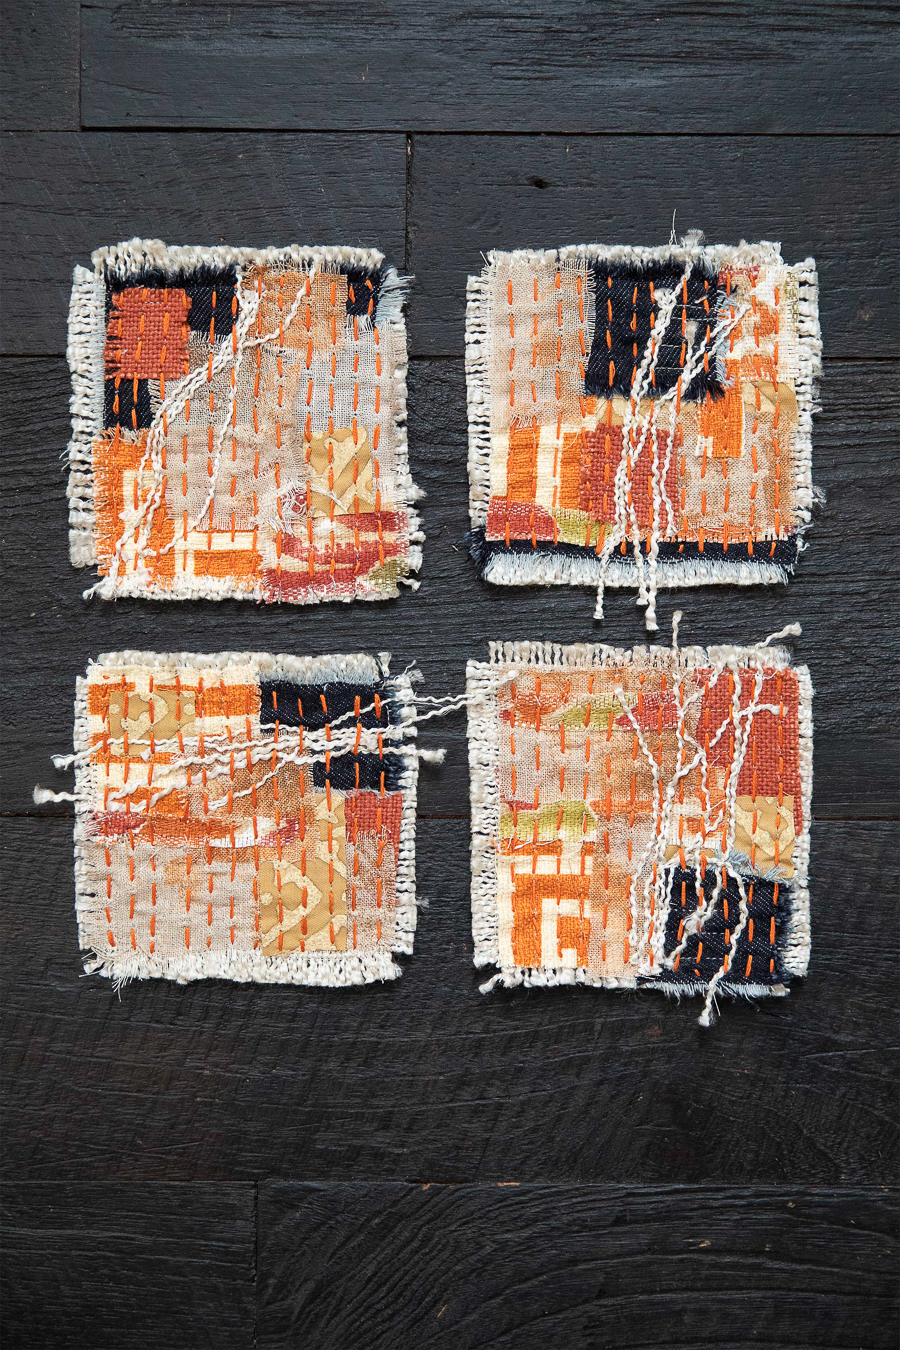
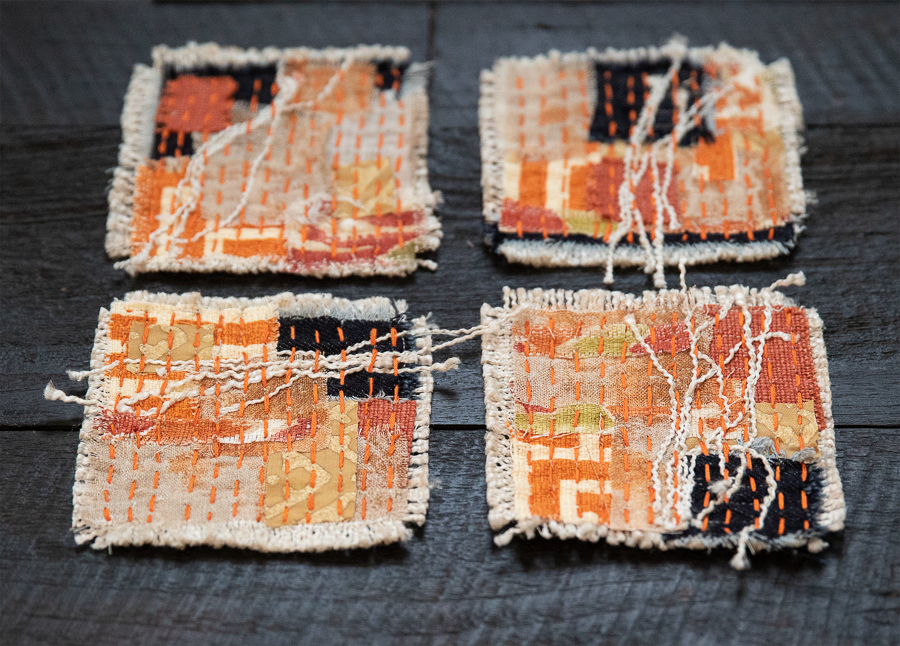
Layer the small fabric pieces in a random pattern to cover the base, allowing the frayed edges of the square to peek out around the outside, and making sure they overlap each other by about 1cm (half an inchish). When you’re happy with the layout on each coaster, carefully pin everything in place.
Back to the sewing machine, stitch the rectangles in place by sewing parallel rows across the whole coaster, about 1cm apart. This will also act as a guide for your running stitch later. I then added some of the linen threads, sewing across them in perpendicular lines, to create a random, interesting pattern.
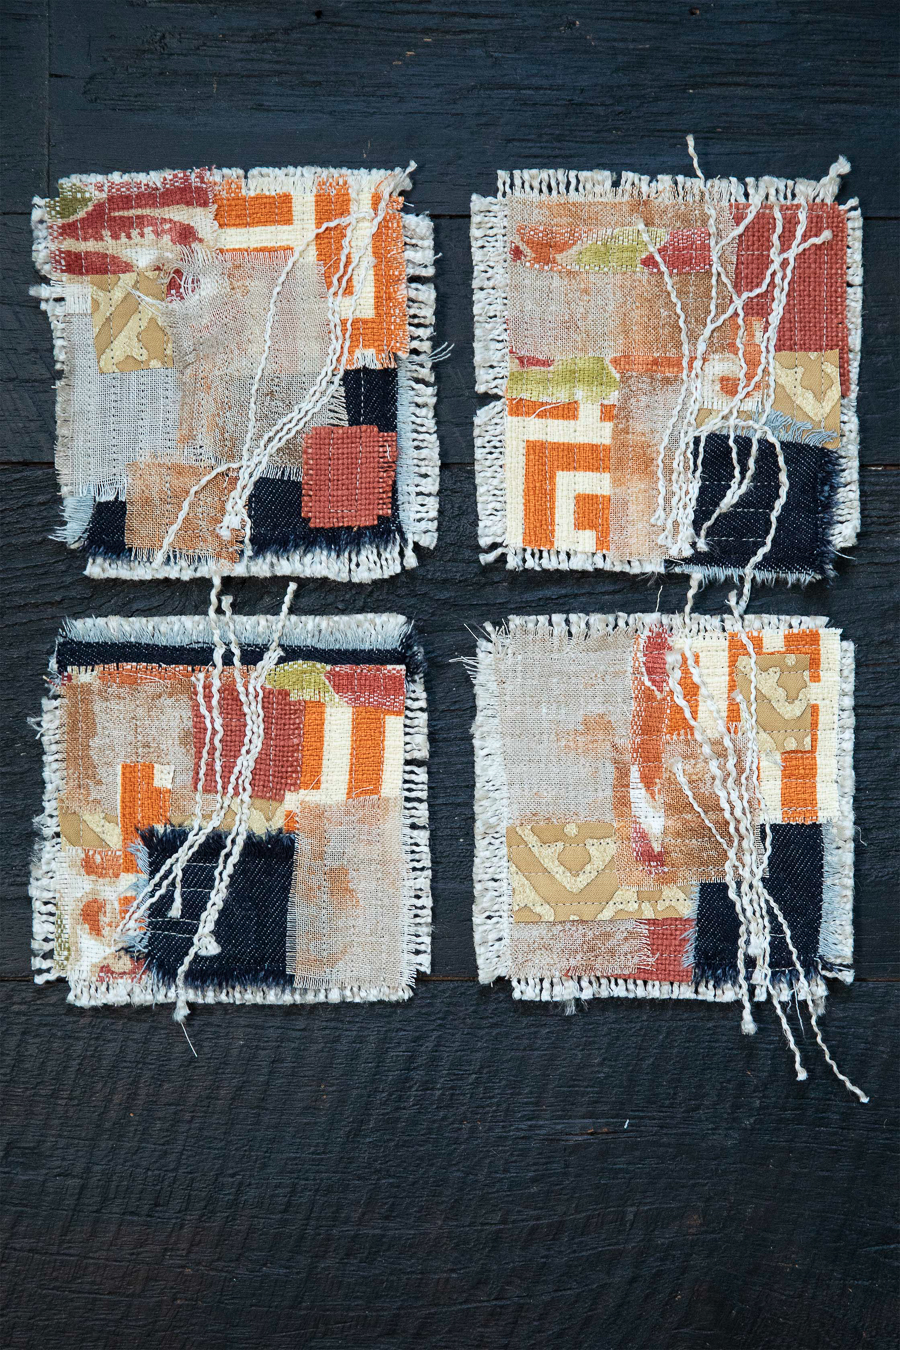
Now for some slow stitching! Thread your needle and tie a small knot at the end of the floss. Start in one of the corners. Push the needle from the back of the fabric through to the front, making sure the thread is secure. Following the machine stitches sew a straight line across to the far side using a running stitch. The last stitch should come out on the reverse of the coaster. Now pop the needle back through to the front about 1cm down. Continue sewing back and forth following the machine stitches until the whole coaster is covered with running stitches.
Finish off on the reverse with a tiny knot. Follow the same process to make the other coasters.
Now it’s time to put the kettle on and make yourself a nice cuppa☺️
My go-to sashiko needles and sewing machine thread.
Happy stitching,

8 comments for “Little works of art—Boro coaster tutorial”